Showing posts with label Party. Show all posts

Friday, February 10, 2012

How to host a party with less than $100.00- and put it together in 1 day!!

How to host a party with less than $100.00- and put it together in 1 day!!

can it be done? Absolutley!  Let me tell you how this little shin dig came in WAY under budget and almost overnight!

Let me start by saying this party is not my typical party- I usually spend a small fortune and plan for months about what I am going to do.  I had party ideas coming out my ears for this party but I just couldn't get into the party mode for some strange reason!!  So, the night before the party I was scrambling with my mom, sister, and sister in law to get things together. 
 Here is what I did:

The party was a "late night- pretend sleepover- pajama party- movie night" with a dessert table/movie theater concession stand.  My daughter wanted her friends to sleepover, but I thought they were too young for that.  The age ranges were 5-9 with mostly 5 and 6 year olds.

For the invitations-
I purchased Starburst candy boxes at Wal Mart for each invitation for $.98 each and covered the front and back with patterned paper.  I covered all of the boxes with 4 sheets of paper (paper I already had).  I glittered (using glitter I already had) the edge of the party info and attached to the candy box.  I wrapped a tulle (already had) bow around the box/invitation and had the kids deliver them. 

On the dessert table we had.... 
Popcorn (extra butter of course)  $2.00
Candy boxes (Starburst, Reese's Pieces, and Twizzlers) $.98 each (10 boxes)
M&M's $2.50
Hershey's Kisses $2.00
Cookies and Cream Hearts $1.88
Heart shaped marshmallows $1.25
Now and Laters $2.00
Sprinkle donut holes $2.50
White chocolate covered pretzels $2.00
Licorice $1.68
Gummy Bears $4.00 (large bag)
Water bottles $2.00
Cake in a jar $1.34 (per cake mix, we used 3. I made cream cheese frosting at approximately $3.00..unsure of cost because I had everything to make it. I also used jars my mom already had.)
Chewy Lemon Heads $.98 (1 box divided up into smaller portions and placed in glassine bags which were $.02 each)
Cake in the Jar, prior to baking. 

A top view of the cake in the Jar all frosted and sprinkled up! 
All complete with Tulle and a spoon! 
I used dishes and a tablecloth that I already had, for the treat table.  I also used a white gift box with a ribbon that I already had, wrapped around and tied in a knot to elevate the gummy bears and to help the table look "finished" and complete, to my satisfaction. 
I used fold over sandwich bags and ribbon I had in my ribbon stash to make individual serving size bags of gummy bears.  I just cut the top off to look more like a cellophane bag would.
I used tulle I already had to wrap around the cake jars and inserted a plastic spoon.
I purchased cellophane bags ($2.00 for 25) to put the popcorn in and then placed in a paper sack ($.02 each) to avoid grease marks on the paper bags.  Then I cut a few sheets of patterned tissue paper into smaller rectangles and stuffed in the top of the popcorn sacks to look like a gift bag. 
I bought 3 pieces of patterned paper and cut into 2 inch strips to wrap around the water bottles.  I also punched scalloped circles in coordinating colors and adhered them to the Now and Laters just to cutesy them up a bit.


I bought 10 pink buckets at the dollar store and 2 packages of cute patterned tissue paper ($1.47 each) from Wal Mart.  I put one piece of tissue paper in each bucket for the kids to put their goodies in.  That way they could take their treats to the "theater" and munch while watching the movie.

We watched a movie, ate goodies, had cake ($18.00) and ice cream ($4.00) ($3.00 for plates and napkins)- the kids could choose to eat cake in a jar or the actual birthday cake but they all chose the cake in a jar.

The party favors were a large swirly lolly pop ($.50 each) and a candy shaped body glitter (on sale after Christmas for 50% off $.50 each) put upside down in a cellophane bag and tied with a ribbon.  (Upside down so they looked more like a lolly pop when held right side up.) I also purchased a Hot Wheels car ($1.00) and a green bucket for the only boy that attended the party.
The kids also got to take home their goody buckets filled with any treats leftover.

I can't take credit for everything as I am lucky to have a very helpful husband who did the shopping, the cleaning and watched the kids so I could have a girls night to get the party stuff done the night before.  I also have a spectacular mom, sister, sister in law and friend who helped with putting it all together.  They do not have a measurable price!

All in all my total comes to $94.45 plus tax and that includes EVERYTHING! (if my math is right that is!)

Can't complain and neither can my hubby! 

XOXO,     Dawn

Posted by Picasa

Lets go to the movies - TAKE 2

Just some more fun, close up pics of the party... thought i would post! My last post was lengthy enough!


XOXO, Jan
Posted by Picasa

Lets Go to the Movies

       I love to plan parties. I don't know what it is that is so enthralling about it, but I get so excited! I love creating and making a party look fun and not super commercialized. To me, decorations are what helps the guests get into the party spirit and have fun. Something about the theme, colors, food spreads, etc. It's so exciting. 
      My sweet friend Aimee was kind enough to let me help her plan and decorate for her Daughters 12th Birthday. The theme of the event was "Movie Night".. However, no movies were watched. Originally the girls were going to split up into two groups and make movies, then we would get back together and watch them. The plan strayed a bit. With 15 girls, and lots of events planned, things went off track. 
      Aimee and I spent about three days on this party. Planning, brainstorming ideas, shopping, gathering supplies, dreaming up ideas for tags and food tents, creating, decorating and baking. Along with our daily duties of Mamas and wives... We planned it just right and pulled it off with time to shower. It consumed our lives, but totally worth it. 
       One thing we did was prepared the gift bags the day before. They ended up perfect. We got popcorn boxes here, then grabbed theater size boxes of candy, microwave popcorn and bottles of Crush and IBC rootbeer at Walmart. Of course we went into Wally world, not online. We stuffed a little tissue paper in the bottom of the boxes to give them some height, wrapped them in cellophane, and tied with a cute bow with ribbon also purchased at Walmart. Aimee's Mr. Wonderful designed some labels for us on Photoshop. He did awesome!


The gift box for the girls! LOVE IT! 
Gift boxes displayed! A decor piece in itself! 
Our Dessert table was a Sundae Bar, with of course other options! Oreo truffles, cake bites... never enough sugar.  The food tents were also created by Aimee's Mr. Wonderful. We used a piece of Red fabric I had and draped it over  set of white lights (Hence the sparkles under the fabric).. we used some bling bead necklaces  purchased at our local dollar tree. 8 necklaces for $1. Gold and Silver.  Cant beat that! Add them to the party collections! 
And yet, another view. 

Toppings (Crushed up candy bars, and skittles) all requested by the birthday girl! Chalboard sheet square used for the sign.  

Another View of the Sundae Bar


Close up of the cake bites and the lights
We made cupcakes in red and silver foil wraps. Frosted White , with Mini Marshmellows put on and painted with yellow food coloring mixed with water to look like popcorn. Aimee saw this idea on pinterest and I am not sure who to give credit to (I apologize to the creator out there)..  I placed the Wilton cupcake stand on a box that was placed under the red fabric. 


The Beverage station! We used more red fabric to drape over a Painting already hanging. The  tinsel was purchased at Dollar tree after Christmas. Worked great with our "Movie" theme. The production sign was found at Zurcher's, along with the hanging stars. The tickets were also found at Zurchers. We filled her apothecary jar and tied a cute striped ribbon up top. I used a box (i think it was a shoe box) to give the height of the production sign. I placed the box down, then draped over some gold shimmer fabric i had on hand. I placed the cake stand under the fabric also, prior to putting Aimee's new Pottery Barn Drink Dispenser on. The popcorn box is plastic, found from Target's Famous $1 section, stuffed with Tissue paper. . We invested in some Star String Lights found at Zurcher's. They are gold and silver stars! It looked amazing ! We used mason jars for the drinks and pre-made the guests name on a label printed on photo paper. We decided that if they were labeled it would prevent mix-ups! Brilliant idea! Each mason jar had the label tied on with Martha Stewart's Bakers twine, also found at Zurcher's! I love that stuff! I want every color! We used black napkins and rolled the Cutlery in it and tied with a piece of twine. And of course we had to add the vintage red/white paper straws!  I used some tickets to set on the station to pull the red through, and we tied a cute grosgrain ribbon around the jar. I tossed on some silver package curly's found at Dollar Tree, 3 for $1. 
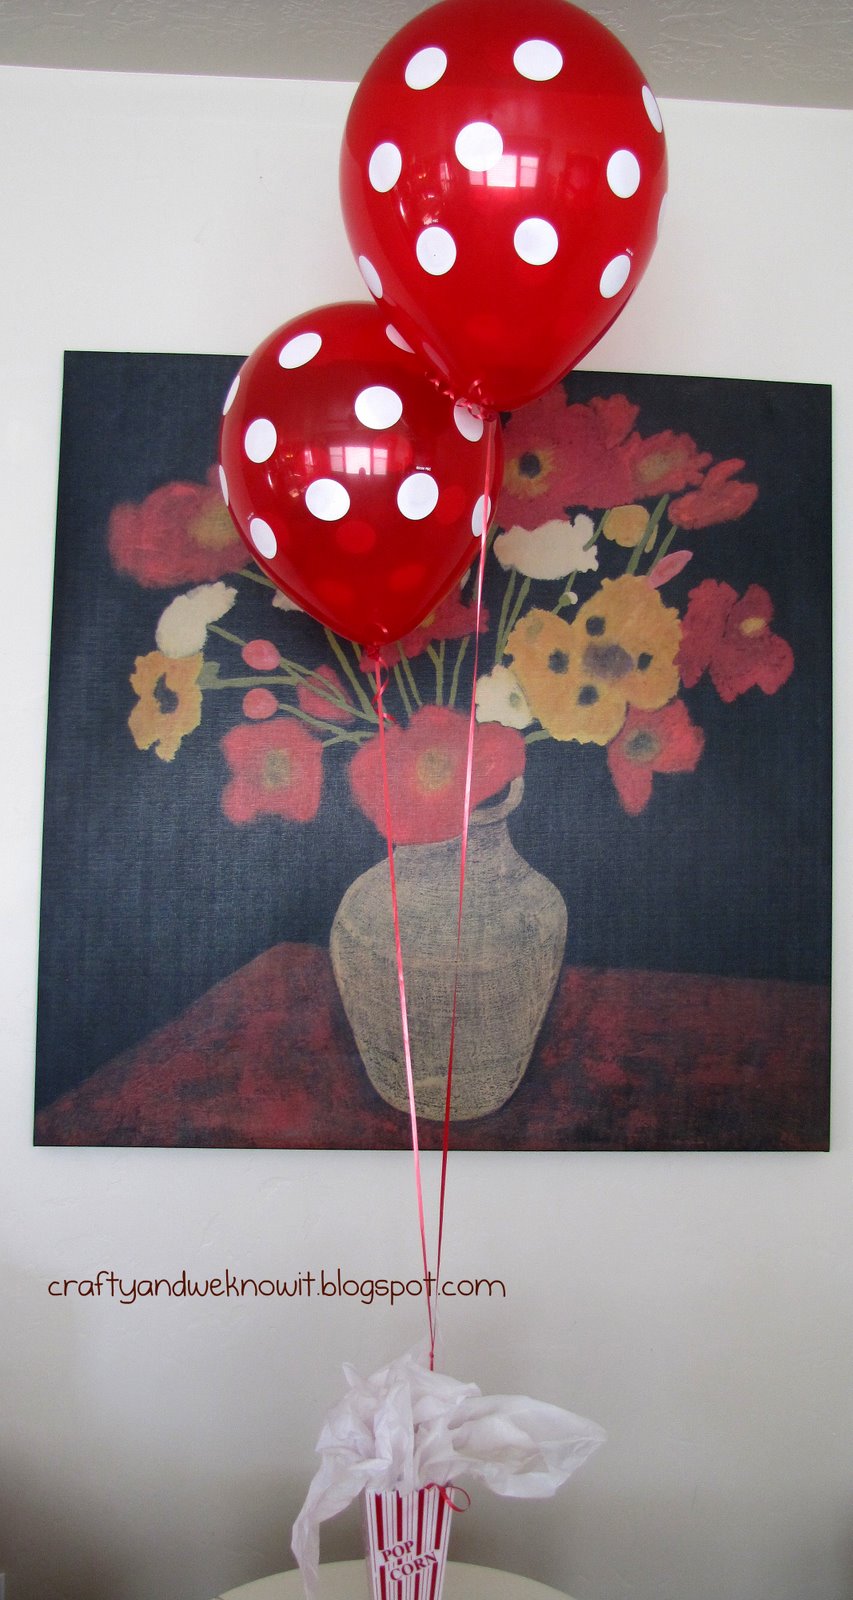
The Concession Stand! We had popcorn, make-your-own pizza station, nachos, and chocolate chip cookies here. We found the oversize polkadot balloons at Zurcher's! These are a must for every party! They look amazing with all the decor. They tie everything together. We used Dawn's gold and red Chargers for the girls to carry their plates on with their goodies and completed pizzas. We had them just plop where they could find a chair, couch, floor, etc. 


Pizza ingredients... Sauce, cheese, and pepperoni. Pizza  tent printed on  Photo paper, of course. I  loved the shiny look with the "Movie" Theme party! 
Licorice place in a square glass vase I had on hand.  Grosgrain striped ribbon found at our local Walmart, with the licorice tag. OF course i used my big shot (from Stampin' Up) to cut out the scallop circle.


Concession sign made out of foam board, painted black and  Letter stickers that were shiny found at the local Dollar Tree. I taped colored tongue depressors (found at Walmart) to the edges, intending to do something else, but decided it would be more flattering to hang from the ceiling. I taped the gold stars to it last minute to tie in the star theme.  I tied the balloons to a glass candlestick, also found at the local Dollar Tree, wrapped with Red Tulle and a gold star added to it!
The tablescape was a simple white tablecloth , draped over some boxes from the pantry for height. I Made a Movies Sign with foam board, black paint, yellow cardstock and block letters run off on the big shot from Stampin' up. I thumb-tacked it to a gold glittery cone I picked up at Dollar tree at Christmas time. I picked up the star clappers at Dollar tree at New Years. Again, another useful decoration.  I love getting versatile use out of things.
I used more package curly's to drape on the table. I purchased them in gold and silver. Aimee created a cupcake stand out of a clear glass candlestick and hot-glued a candle holder plate to the top. She painted it using  a spray paint (Krylon Fusion for plastic -gloss)  purchased from Walmart. She took a shallow box and set it in, and sprayed it in her cold storage room of her basement. (Since it is freezing cold this time of year).  The problem we discovered using spray paint, is it takes numerous coats and drying time in between to get to the color you want. The benefit, on the other hand, is that you can achieve just the right color your looking for by spraying it. Versus, using acrylic paint and sponge painting it. I set the roll of tickets in the middle on top of the box and placed my 3D"Camera" made from cardboard boxes, and X-acto knife, black duct tape, hot glue, mason jar lids, yellow sticky-back felt and yellow cardstock. I LOVED the way it turned out! Made for a fun centerpiece underneath the cascading balloons and stars! I draped gold tinsel around the centerpiece and intertwined red tulle purchased in a small role at Walmart. It tied it all together. 

The other end of the table had another plastic popcorn bucket with tissue, a star clapper, and a directors megaphone Aimee found at Zurchers. The balloons were hung very carefully. lol... Aimee and I did this for the Mario Party we did (which will come in a future post). We learned that they sway a lot, but still look cool. Aimee read somewhere on Pinterest that you can put a marble in them and they wont sway. So we tried it, and the balloons all seemed to deflate by pinholes. I am still not quite sure what happened. We will work on that issue for future parties. This is something you can do a couple days before the party, which i would suggest, because this is very time consuming. You blow up each balloon, tie it, and we used a piece of elastic, clear, stretchy jewelry cord found at Walmart for $2. We tied a strand of Jewelry cord between two barstools, and individually tied balloons at varying lengths, Then we hung the whole strand of balloons. I think we did a total of five strands in this particular picture. Then we hung Gold Stars (Cardboard) found at Zurchers to jewelry cord and tied them to the ends of the balloons. This cute back on the length of cord we used. You could also use Fishing line, thread, etc. I liked the jewelry cord because of the flexibility. I tied the ends of the table cloth to the table legs with the red and white striped Grosgrain ribbon. I even taped a di-cut film strip I found in my stash to the big Center Star. You can see that we did this all in Aimee's Kitchen. The beverage station in the back, the concession stand above her counter, and to the right (not pictured) is the counter with the Sundae Bar. 

Another View..

I tied three blown balloons together with jewelry cord and put them in each corner of the windows . This helped to tie in the family room and the kitchen. They have a perfect wall for a photo booth. We took the same red fabric, pinned it to the wall, added all the Gold stars we found at Zurcher's. (They came in a package of 12 for $0.99, and they are re-usable). I used that blue sticky goo to put them on the fabric. Worked great. We had a basket with all kinds of silly props. WE took pics of the girls and emailed them (Or their parents) the photos. So FUN! Next time around, maybe a fun sign that says PHOTO BOOTH????


This is the opposite wall of the photo booth and it just needed something. So I used a popcorn container, tied the balloons to one of those clear candlesticks, and stuck it in the popcorn box. I stuffed a little tissue paper around it, and TA-DA... great center piece. 

This is was on the entry table. These balloons were so much fun to incorporate into the party  decor. I tied these to a star balloon holder found at Dollar Tree, draped some gold Tinsel around it..

As I am posting this, I am realizing there are some pics I am missing. A Directors front door sign I created, to greet the guests, and a few others..  I hope i didnt miss taking a picture of them.
We had a lot of fun planning, decorating and creating this. The girls did a craft, played a couple games, made pizza, presents, made sundaes, and of course a WII dance party.... Michael Jackson Experience is a phenomenal game, as well as Just Dance 2!

If you have any questions, feel free to leave a comment, email us at craftyandweknowit@gmail.com or visit our facebook page!

XOXO,       Jan 

Posted by Picasa

Tuesday, January 24, 2012

Alice in Wonderland - Part 2


Ever feel like you have fallen down the rabbit hole?  I do... at least once a day! 
When doing the Alice themed birthday party I was channeling my inner Disney.  You see, I am a Disneyland freak. It's bad. 
My poor children have Disney themed parties whether they like it or not!  Luckily they like it!
More with the party details. 

The entry.
I made a Cheshire Cat poster at my local Costco (it is very inexpensive) and cut him out.  I wanted him to look like he was in the tree.  You know- when he says we are all just a little mad.  I went out in my yard and cut a long thin branch off a tree and used dollar store fake leaves.   I stuck that on the front door and put the Cheshire Cat on the door like he was sitting in a tree. 


I used a crazy stick to make the signage and printed "this way" "that way" "yonder" "up" "down" and placed them crooked and confusing like. 


Next I made the card men.  They were very simple.  I went to the local dollar store and picked up several red and white poster boards.  I made the faces, hands and pieces out of red poster board and peach colored cardstock.  I went to home depot and bought a bag of quick curing concrete.  I also picked up some sprinkler pipe (also known as pvc pipe)  I mixed up concrete and poured it in cheap black plastic bowls from Wally world.  I put the desired length of pipe in the concrete and waited for it to harden enough that I could let go.  Not too long, I promise.  Once this was complete I taped the card men to the pipe and voila!  The queens men!
I got a whole bunch of stems of red and white roses from the good ol' dollar store and placed them in topiaries I already had.  This is the queens men painting the roses red.
We played crouqet made from one of those tacky...er...sweet yard art flamingos and a toilet plunger...yep-thats right, I said a plunger- it was new, I promise!  I bought pink wiffle balls so my house wasn't ruined. 

Next came the table.  Now this may sound crazy but I wanted to feel like I was riding the tea cup ride at Disneyland.  I got lucky and found 4 buckets at IKEA that had hearts and diamonds on them and matched my theme perfectly-and they were on clearance.  Even better.  I used the same concrete and pvc and made a canopy.  I will do a detailed post soon that explains what parts to buy from the home improvement store and ways you can use a canopy.
I got a few wysteria vines from Michaels, some boxwood vines from a local craft store that is no longer in business and some dollar store vines.  I also got paper lanterns from zurchers here.  I used fishing line (monofilament) and floral wire and tape to attach everything. 
I purchased a wh.ite tablecloth which I got here for a great price on ebay along with a few miniature tea sets (here).  Both of these items are still available on ebay.  Ebay is a great party resource if you're looking for something specific.  I went to our local thrift store and bought all the tea cups and tea pots I could find and painted them in bright colors.  They are no longer food safe once they have been painted so...don't poison your guests!

I had Alice come visit and take photos with each girl.  She is AMAZING!  She is available in Utah and a few other states and is worth every penny.  Her prices are very reasonable and she is seriously fantastic. 
The kids ate circle shaped tea sandwiches and fruit kabobs.  I cut the strawberries to look like hearts and put them on a plastic kabob stick with the other fruit.  I made my famous hot cocoa (which is really just the recipe on the Hershey's cocoa) and the girls loved it. 
Each girl left with a goody bag filled with a blue squeezit with a special tag, a heart brownie- again with a special tag, bubbles, a heart bracelet, a diamond ring, and sweetarts.  I will show you how I blinged up the treats and put it all together in my next post. 
I had a blast doing this party.  I think it was my most favorite theme because of the wacky decor, colors and all the fun projects.  


Posted by Picasa

Monday, January 23, 2012

Fall down the rabbit hole into Wonderland...


               This party was set to the scene of Alice in Wonderland. As the party guests arrive out of the rabbit hole (aka; the front door).. they are greeted by the card guys! (Tutorial post coming by Dawn, watch for it). How fascinating to be welcomed by such a scene. I'm sure all the little party guests were giddy with excitement! It's one thing for a little girl or boy to receive a fun party invitation, but to arrive at the party and feel like your part of the theme, is beyond thrilling! 

The troop of heart card men to greet the party guests! 
The sign to help them choose the way ... that way , yonder or down... Oh BOY! 
In Wonderland, the girls were invited to Alice's Tea Party, set up like Wonderlands tea party! Dawn created a trellis over the table with Lanterns hanging down.. This is phenomenal and fun! What a hit! (again, watch for a follow up post written by Dawn with more of the details to this post!)
The table is set with real tea sets, and gold chargers with china placed atop of it! 
Up close picture of the tablescape. Great job was taken to get as close to Alice's table as possible!

Dawn will do a follow up post with more fun details of the party events, food, and favors she incorporated into this divine Alice and Wonderland theme party!


Take a dive under the Sea


      I thought a few of our first posts would be to spotlight some of the previous parties we have done. My amazingly divine friend (and co-blogger/creator) Dawn, helped her sister in lawn create an Under the sea adventure for some cute little girls!

Upon entering the party, The girls arrived through the front door where they had to prepare to go through the handmade balloon arch. They were dazzled to see the sea horses and fish hanging from the ceiling and swimming above their heads as they walked through the arch! 

The picture is shot looking through the arch at the front door! (If we receive enough demand, we will have Dawn write a tutorial for the Balloon Arch)

 The table is set for the Mermaids with Gold chargers and real plates! These little swimmers get the best! A teal blue table cloth is placed down on the table with a fish net in the center extending to the tops of the Plates. On top of that is real sand, and sand castles! Of course there are shells and starfish that washed up around the castle...These little gals really felt like they were eating under the sea with this scene. Fish were swimming above them! Fantastic idea Dawn!
What would an Under the sea Little Mermaid Party be without Ariel there? A great backdrop was set with an oceanic scene setter on the wall with a stool for Ariel to sit on draped with a fish net. Faux rocks and "under the sea type" plants and fake crabs were placed on the ocean floor. These little mermaids were ecstatic to sit on Ariels lap for a photo op! 
Party favors were made in Sand buckets with a shovel attached filled with all sorts of fun goodies and treats. You could put whatever your heart desires in them! Wrapped with cellophane and tied with  a big teal blue bow! After all, you don't want your party guests breaking into the goodies until they get home! 
A great tie up to go with the party theme! 
Great Job Dawn and (Dawns Sis-in-law)!